Using Ngrok to Test Localhost

Have you ever needed to test your app or website with an external service? This can be a difficult and time consuming task. It is very inefficient to deploy to a preview environment to test every little change. In addition, tweaking firewall settings and routing configurations to open a port on your network can be complicated and leave your network exposed.
This is a problem that I have encountered over and over again. Fortunately, there are solutions to this problem. Ngrok is a tool to ingress traffic to apps and services running on your local or secured network from an external network. In this post, I will use ngrok to expose my website running on localhost so that I can test it with external services.
Exposing my Website to External Services
I recently added fun and engaging AI-generated images to my blog posts. I wanted these images to appear in link previews when posting on social media websites or in apps such as Slack and Discord. These services use the Open Graph Protocol to create preview links. I wanted to test my images using the Open Graph Debugger and directly in Slack. However, deploying my website to a preview environment every time I created a new image was not ideal. I decided to use ngrok to expose my local web server so I could quickly test links without the overhead of deploying.
Ngrok is a tool that I have used in the past, but it has changed a bit since the last time I used it. To get started now, you need to create an account and use an API token. I used brew to install ngrok since I'm on a Mac. You can check out ngrok's download page to find the method that is best for you. Before you can start using the CLI, you will need to authenticate using your API token.
❯ ngrok config add-authtoken <TOKEN>With that out of the way, exposing a local web server running on port 8080 is as simple as,
❯ ngrok http 8080Running that command will dump some info to your terminal.
Session Status                onlineAccount                       Daniel Nagy (Plan: Free)Version                       3.5.0Region                        United States (us)Latency                       -Web Interface                 http://127.0.0.1:4040Forwarding                    https://7ea7-24-243-144-137.ngrok-free.app -> http://localhost:8080
Connections                   ttl     opn     rt1     rt5     p50     p90                              0       0       0.00    0.00    0.00    0.00
The forwarding URL is what you can use to access your web server from an external network. However, when I tried to use the forwarding URL to test my website I, ran into a problem. To prevent abuse and block phishing attacks, ngrok has added an interstitial page for free accounts. This is problematic because it prevents me from testing my website with the Open Graph Debugger and other apps. Fortunately, this page can be disabled with a little bit of effort. If the request to your forwarding URL contains the ngrok-skip-browser-warning HTTP, header then ngrok will not show this page and will continue directly to your web server.
Working Around the Interstitial Page
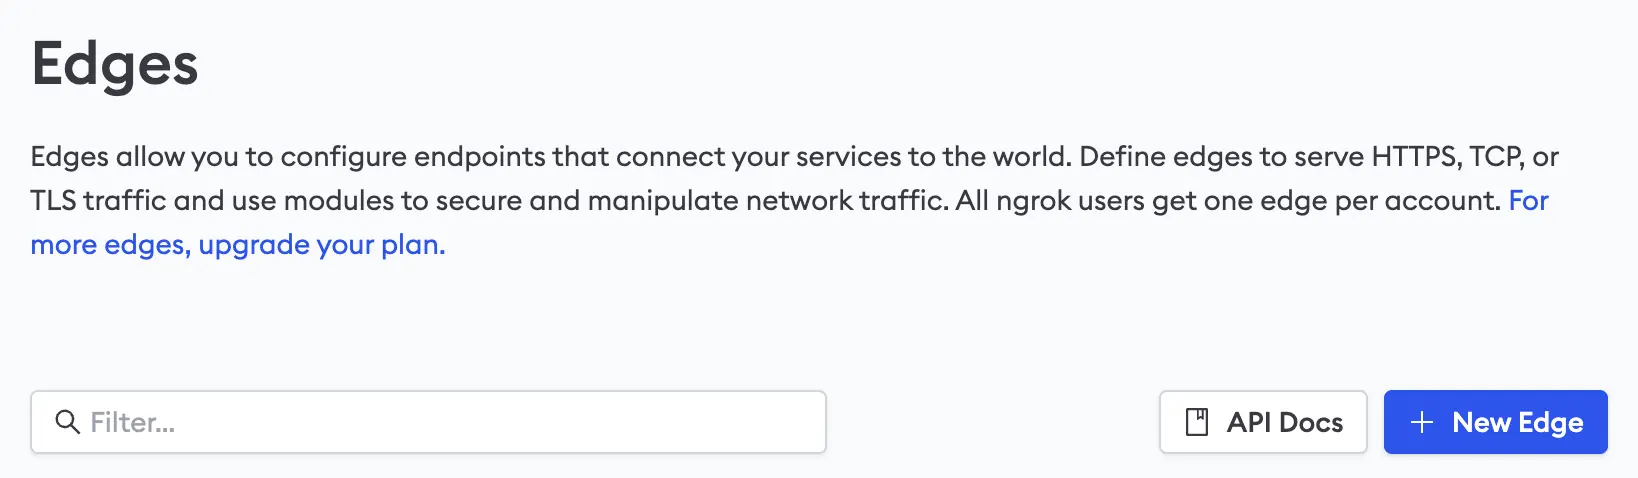
Credit for the following workaround comes from this Stack Overflow answer. Essentially, we can use another feature of ngrok to add this HTTP header automatically. To do this, we need to create an edge from our ngrok dashboard. We can use an edge as a reverse proxy in front of our server. After signing in to your dashboard, go to the Edges page and create a new edge.
Once your edge is created, you can configure it to add any HTTP headers to the request before it is forwarded to the upstream server.
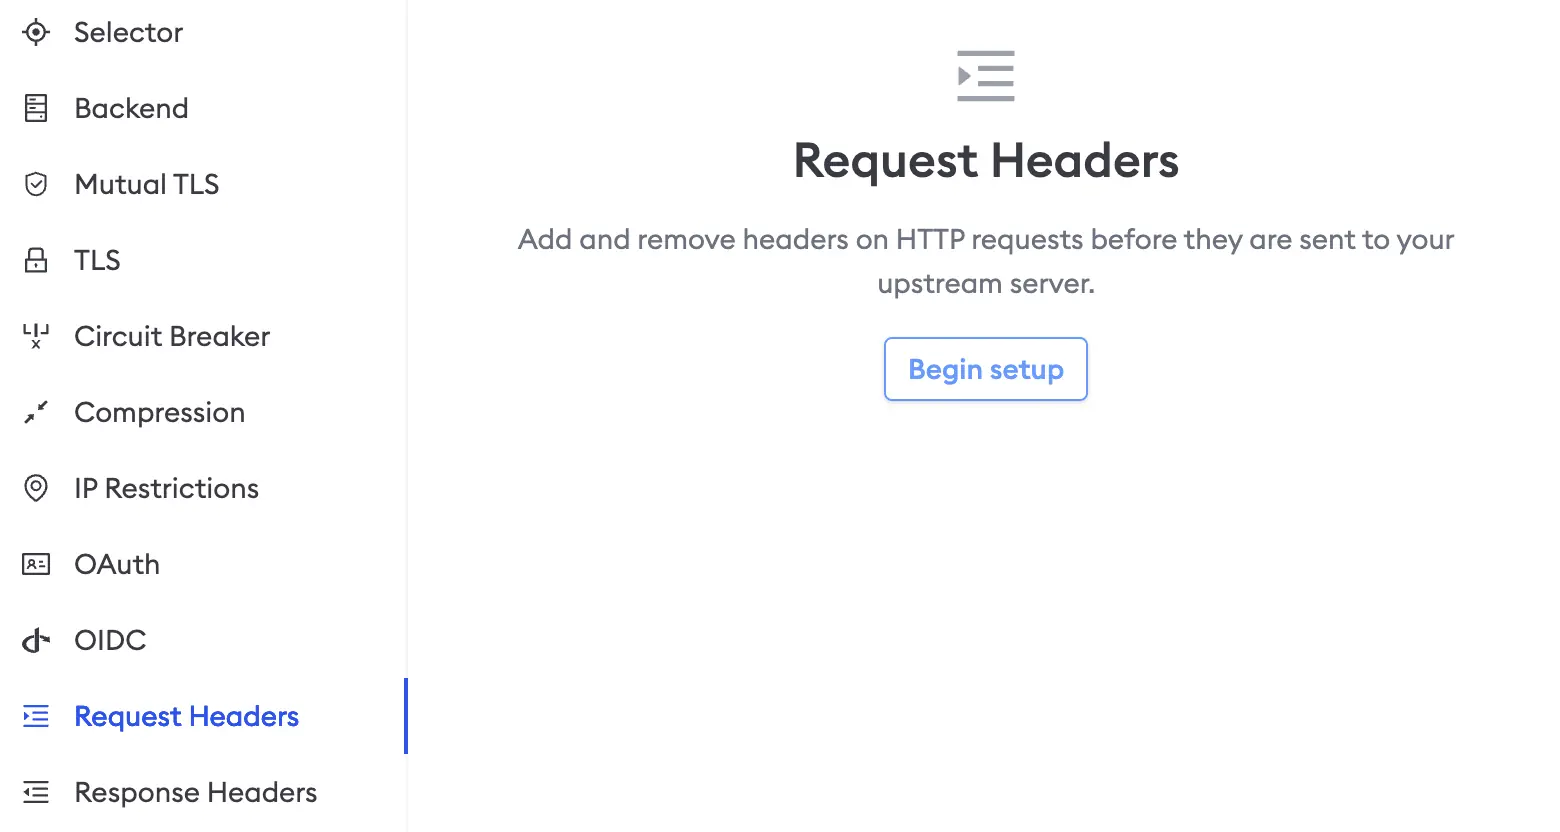
From the ngrok UI, add the ngrok-skip-browser-warning header to your edge. The value of this header does not matter. Once that is done, you will need to run your edge and tell it to forward requests to your local web server. Ngrok gives you a few different options for running your edge, but I elected to use the CLI. To start my edge using the CLI to forward requests to my local Vite dev server running on port 3000, I will issue the following command:
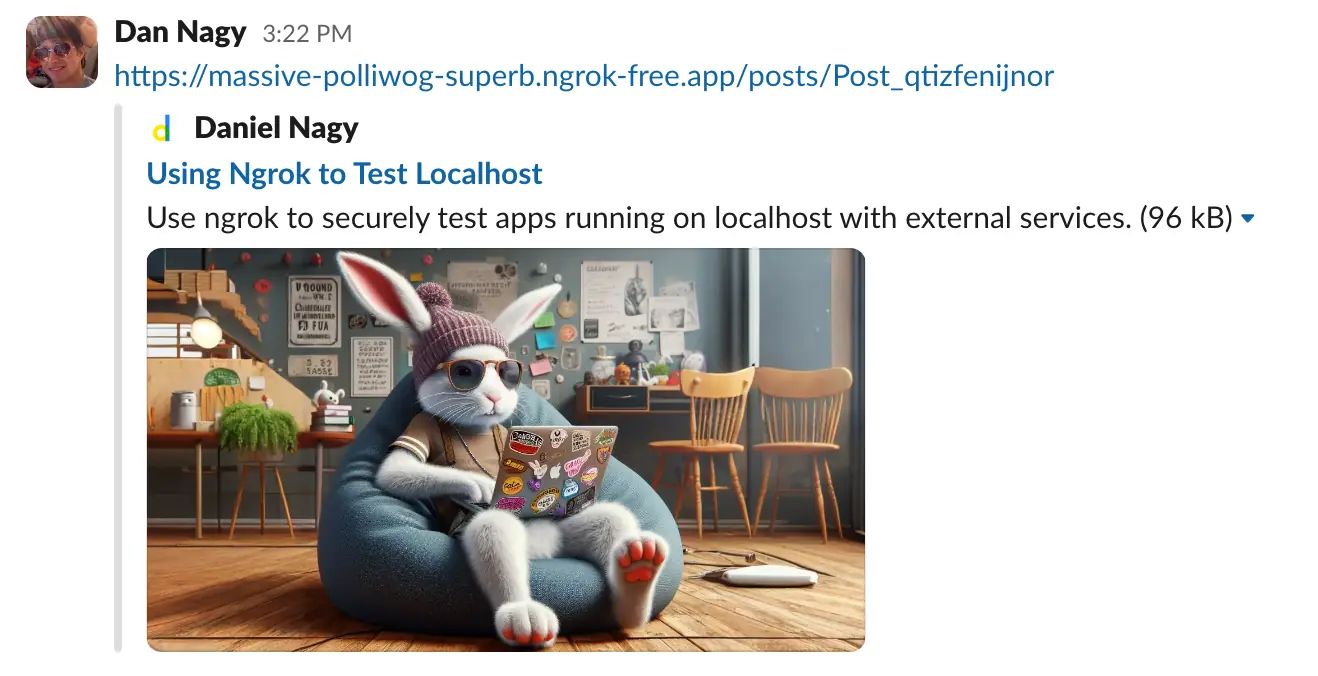
❯ ngrok tunnel --label edge=<MY_EDGE_LABEL> http://localhost:3000If I open the URL for my edge in the browser, I can now access my Vite dev server without the interstitial page. You can find the URL for your edge on the ngrok dashboard. I can now test my website with the Open Graph Debugger and other apps and services without needing to deploy it to a preview environment. For example, here is me testing this blog post in the Slack desktop app.
This is just one use case for ngrok, but ngrok is a pretty awesome tool that can do so much more! If you liked this post, then consider giving it a 👍. This is an indicator that I should post similar content and will help me improve the quality of my posts over time. Until next time!

Written by Daniel Nagy
Daniel is a software engineer and full-stack web developer. He studied computer science at Ohio University and has been doing web development and hybrid mobile app development since 2014.
If you liked this post, then please consider donating or becoming a sponsor. Your support will help me produce more content that gives back to the community.
Comments
You will not receive notifications for new comments. If you are waiting for a reply, please check back periodically.